In my previous tutorial, 10 simple tips to get a sharp landscape photo, I shared with you the most important steps to get a sharp photo in the field. I recommend you read that first, since getting the best possible file on the field is vital. Post processing is here to help, but there are limits on what can be corrected. There is also a risk of degradation of quality if sharpening is overdone or not done properly.
It can happen that after respecting all the tips from previous tutorial you are still not satisfied with the results, due to the limitations of your equipment (your lens, camera or tripod) or some other reason (strong wind for example, missed focus…). In that case there are ways in both Adobe Lightroom and Photoshop to help you improve the sharpness of your photo.
What is sharpness actually? It’s really nothing else but the contrast between the edges on an object and it’s surroundings. In this case we are talking about the local contrast, not the overall contrast of an image. Two important notes before we start:
- Do not over-sharpen your images! It will probably look worse then if you had a slightly soft image.
- Not everything in the photo must be sharp all the time. Sometimes we want that foreground to be out of focus, or we want some soft water, clouds, mist… So, think about what you want to sharpen.
Example of soft, on purpose out of focus foreground
There are several ways to sharpen in Photoshop. For me, this is one of the most powerful ways to do it and it gives you absolute control on the amount you want to apply. It can also be applied locally, so we can respect both important notes mentioned above. Here is how to do it:
1. Duplicate your background layer by holding Ctrl+J on Windows, or CMD+J on a Mac.
2. Select that new layer and go to Filter>Other>High pass. Set the value somewhere between 2 and 5 (this depends on the number of megapixels of your camera and on how strong effect you want to achieve). For 20 MP camera I use 3 pixels.

High Pass filter settings
3. Change the blending mode of that layer to Overly (stronger effect) or Soft light (more subtle effect).
This on itself can be enough sharpening, but to build on this effect I will share with you few more important steps that will additionally improve sharpness of your photo.
4. With that High pass layer still selected, go to Filter>Sharpen>Unsharp mask and set the values as shown on the photo below (you can play with the values of course and set them to your likings)
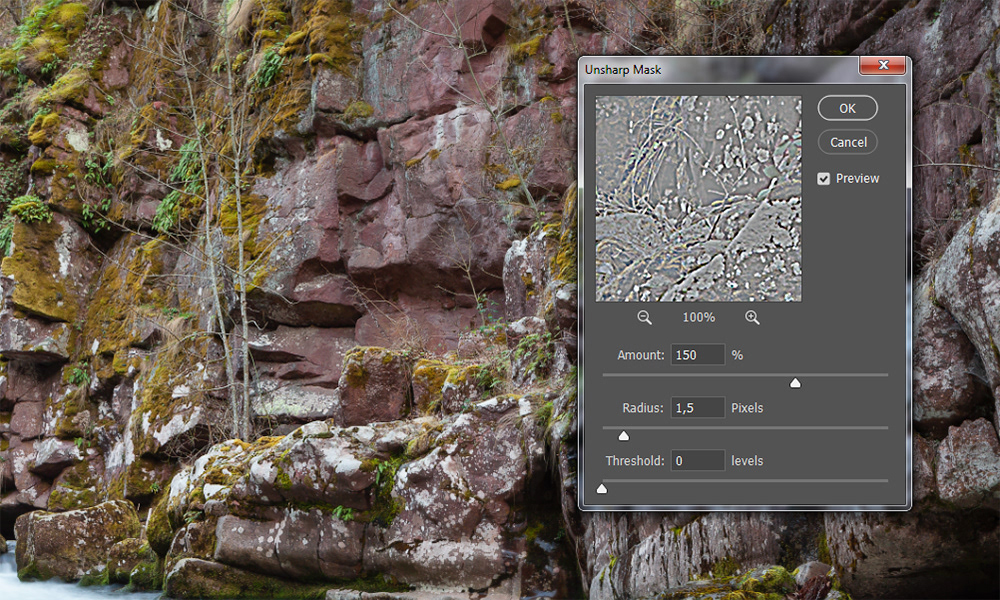
Unsharp Mask settings example
5. Additional step can be adding some contrast. As we said, sharpness is actually local contrast on the edges of an object. With same layer still selected, go to Image>Adjustments>Brightness/Contrast… and add some contrast (I added 50 in this example).
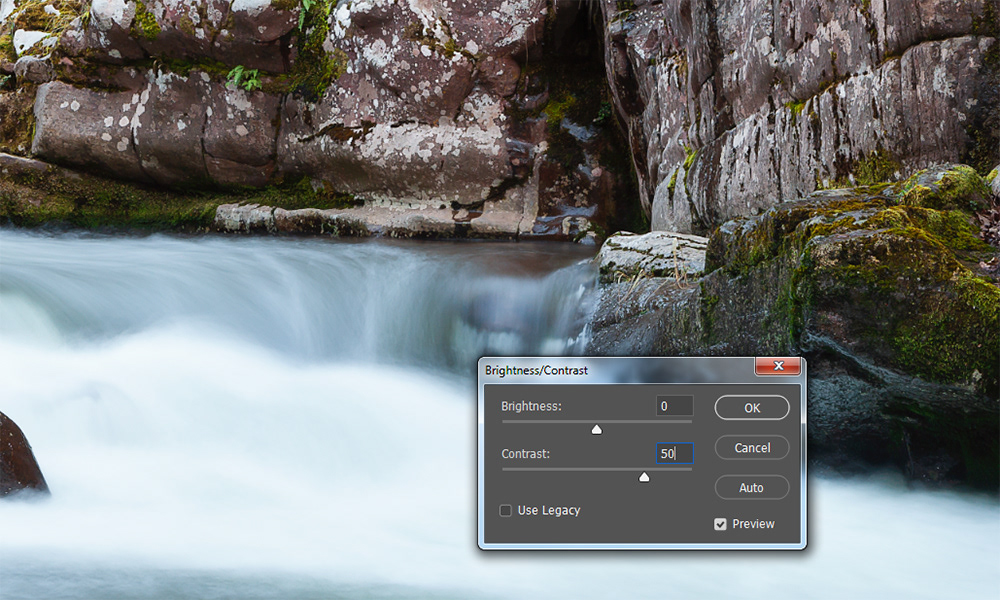
Brightness/Contrast
6. Now the sharpness should be more then enough if your file was not completely out of focus. If the effect is to strong you can additionally control the amount with Opacity slider.
7. Final step would be to apply this effect selectively. To do that, hold Alt or Option on Mac and click on a New layer mask. This will create a black mask over yours sharpen layer, meaning nothing is being sharpened. Now select a brush tool and just paint with white over the areas you want to sharpen. Generally, in landscape and cityscape photography, I almost never sharpen skies or water surfaces since this is most likely going to introduce noise to your photo. One more thing to have in mind is that viewer’s eye will go towards more sharp area of the photo, so it’s always a good idea to have your main subject as sharp as possible.

Black layer mask added over sharpen layer. Paint with white brush over the areas you want to sharpen.

Very roughly made mask, white areas are sharpened, while black areas are not
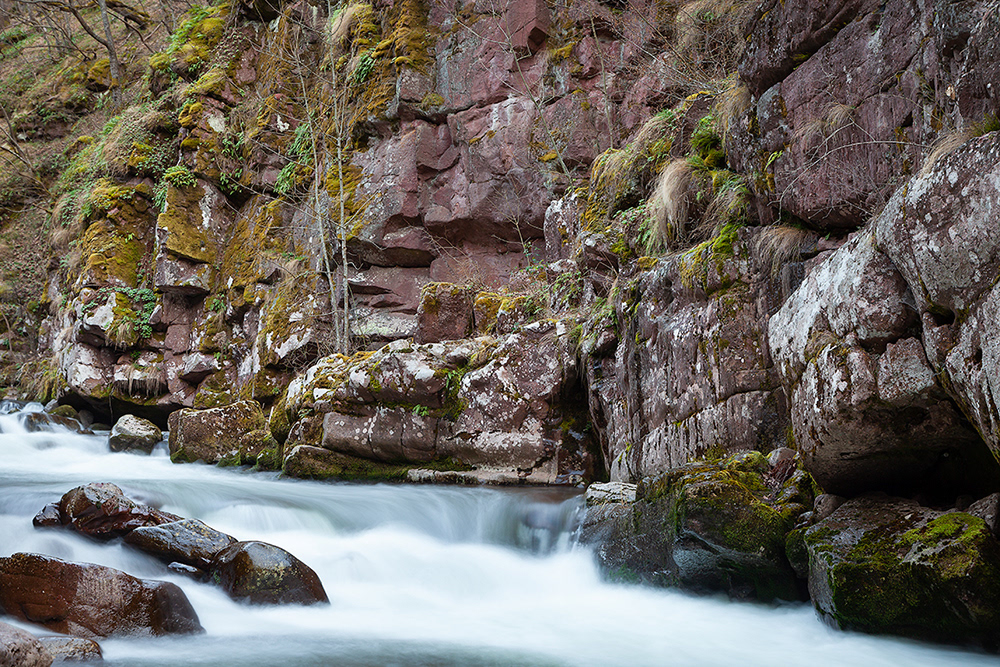
Final image with sharpness applied. By looking at the mask above you can see that water and top left edge were not sharpened
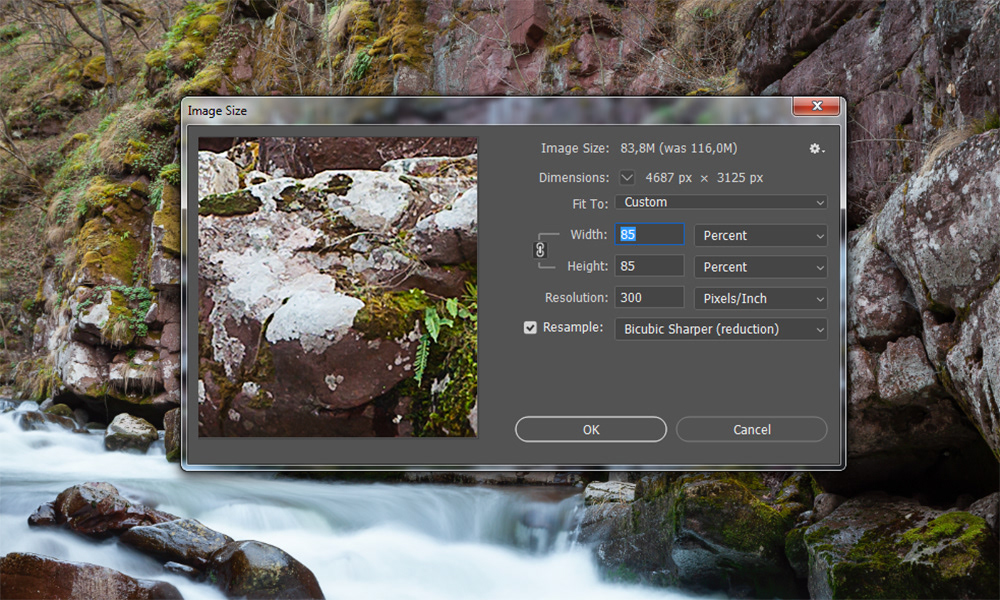
And that’s it. As mentioned above, even the high pass filter might be enough, but all the steps after that will build on the effect and help extract additional details in the areas you chose to sharpen. As a bonus tip, I can recommend downsizing your photo if after all these steps results are not satisfying and using a Bicubic Sharper method (In Image>Image size menu).
For the end, here is a before and after of a photo we used as an example here, viewed at 100% (always check your sharpness at 100%):
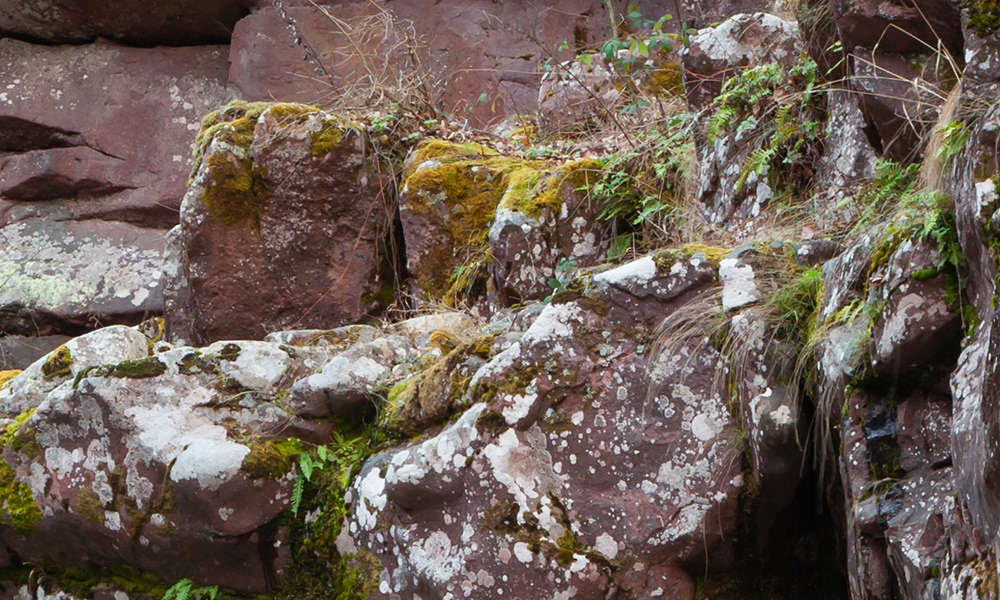
Not sharpened

Sharpened, zoom to 100% to notice the difference