Sharpness of the photo depends on many, many factors. And there are times when you don’t want your photo to be sharp at all, or sharp throughout the frame. This depends on the effect you want to achieve and transfer to the viewer. In this tutorial though, I’m going to show to you 10 best tips to get a landscape photo throughout the frame. Have in mind that any of these steps you can skip, but in most cases, it will be a compromise and it could have an impact on your final photo sharpness. This especially comes in to play when you have on mid that it is a general rule that best landscape photos can be taken during golden or blue hour, when exposure times are a little longer than usual.
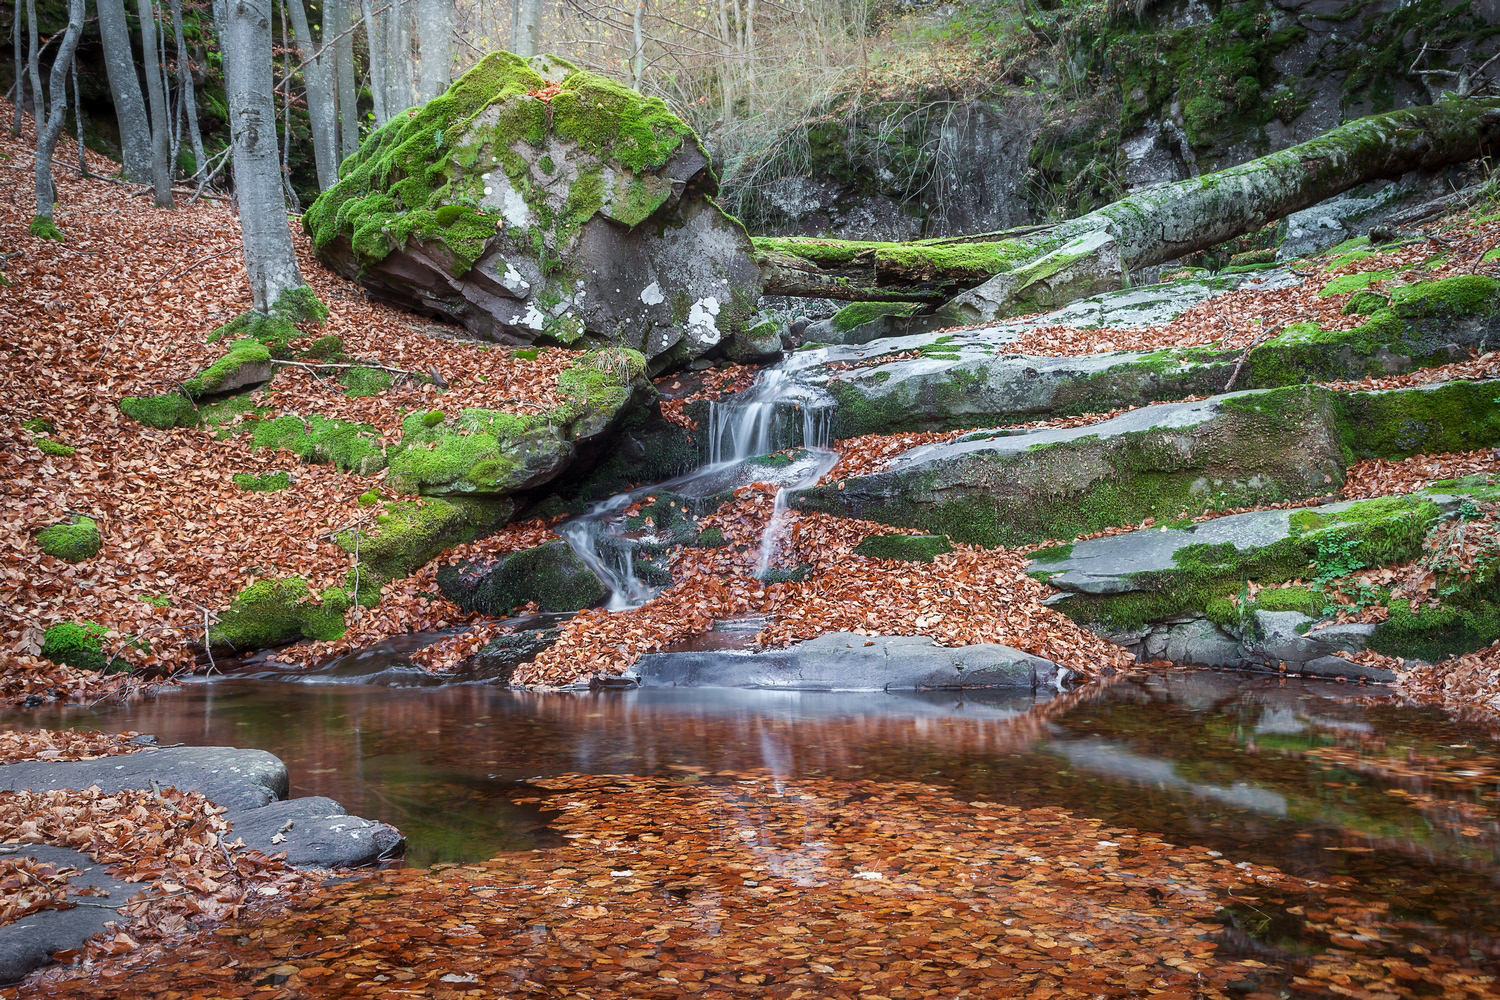
Long exposure shot of a cascade on a Kurtul river, Topli Do, Serbia
Tip #1
Use the tripod: I can’t stress this enough, using a tripod is essential and probably the most important tip you can have to achieve a sharp photo, especially if you shoot during sunset or blue hour when the light is low. Tripod as sturdy as possible. Without it, if your exposure is just a little longer, you will have a motion blur that will show as a not sharp image. BTW, tripod is the only piece of gear I will recommend as a must have in this tutorial. To compensate for this, if you do not have a tripod, try to put your camera on something stable (like a rock, ground, backpack…, but make sure it is safe first) or just lay your elbows while holding your camera on to something stable to minimize vibrations as much as possible. In this case use your image stabilization if available.

Camera on a tripod, ready to take a long exposure shot.
Tip #2
Turn off image stabilization: If you are on a tripod, turn out your image stabilization, since there is no need for it, or else it could have negative impacts on your sharpness
Tip #3
Use shutter release: If you have a shutter release use it to avoid camera shake when you press the shutter button. If you don’t have it, not a problem, most of the cameras should have a timer. Use 10 sec timer, or at least 2 sec timer (depending on your tripod stability and position) to avoid impact on sharpness due to camera shake.
Tip #4
Mirror lock up function: If you use a DSLR camera, use your mirror lock up function, or shoot directly from a live view (when mirror is already up). This can have an impact on sharpness since opening of the mirror can produce a camera shake.
Tip #5
Aperture settings: If you want to have a photo sharp throughout the frame, foreground to background, you must know your lens’ “sweet spot”. It’s usually between F8 and F11. Less then that and depth of field is not that high, more than that and you can have a problem with diffraction that can look like a lack of sharpness. So, get to know your lens, experiment, or google it and use the best aperture for the lens you use.
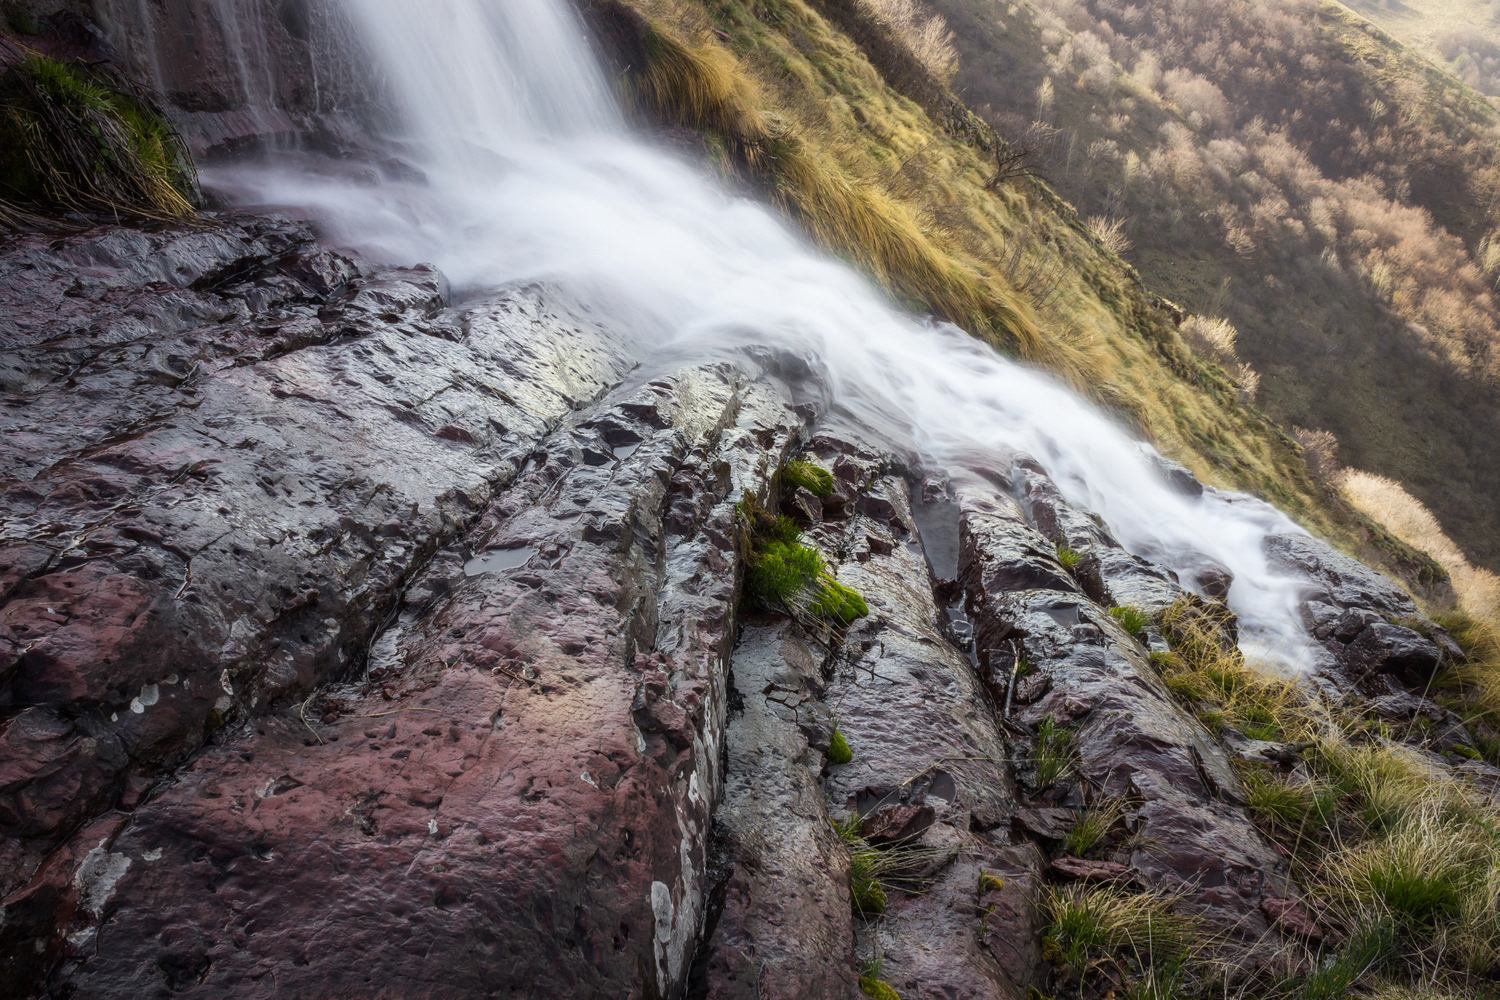
Monk's jump waterfall, the tallest in Serbia, located on Old mountain
Tip #6
ISO settings: Always try to use as low ISO settings as possible. You avoid the noise, but also an excess of noise can have an impact on sharpness of a photo as well. Since you are on a tripod already, better go for longer exposure with lower ISO then the other way around.
Tip #7
Focusing techniques: There are many. First choice is automatic or manual. For me, if you trust your camera auto focus and know how to use it, you can do that, no problems. Using manual focus is always an option as well. But, where to focus, that is the valid question. In this case there is no one right answer. Sometimes it is best to focus on infinity (for example mountain on horizon), sometimes to focus on 1/3 of the frame and sometimes is best to calculate a hyperfocal distance. To keep it simple in this tutorial, I would recommend focusing either on the infinity (if you don’t have immediate foreground), or on 1/3 of your composition (if you have a clear foreground). Another option is focus stacking (taking a series of photos with different focus points through-out the frame, and then stacking them in post processing), but we will leave this technique for another tutorial.
Tip #8
Review your photos at 100%: Also, one of the mayor ones, review your frames while on the field at 100% and check for sharpness. If you find out your photo is not sharp at home, it’s already too late, in most cases.
Tip #9
Focal length: Take in to account your focal length. The longer the length is you are shooting, the more probable and noticeable camera shake will be. If you have a possibility to choose, take a shot with shorter focal length. But if you don’t, take all percussion matters explained above to make sure you avoid any shake issues. Also have in mind that with long focal length your depth of field will be shallower, so precise focusing is even more important.
Tip #10
Atmospheric conditions: Take in to account atmospheric conditions as well. If it is a windy day, it will have an impact on your sharpness. It will depend on your tripod (the sturdier the better), but also on your subject (tree in the wind, or grass, will be blurry if your exposure is not short enough). Also, if it is a misty, foggy day, make sure your lens is dry, or else it can produce a blurry, not sharp image.

Forests of Topli Do, Serbia, after a mountain fire
There are more influential factors, I would say these are the most important ones. One more thing to have in mid is your audience and the medium you are going to share your photos on. If you are going to share them online, at 10% or 20% of it’s size, it might not be as important to respect all these steps. But if you want to print, submit to some of the stock agencies or your client, or just to make sure you have the best possible file for the future, it’s best if you try to follow most, if not all of the tips above since for sure it will help you produce as sharp image as possible with the equipment you already own.
There are techniques, of course, you can use in post processing to improve the sharpness of your photos, but it is vital to get a file as good as possible in camera, since any excessive sharpening in post can and will degrade the quality of your final image. If done properly and selectively though, it can save the day if on field you didn't achieve best results.
Happy shooting!