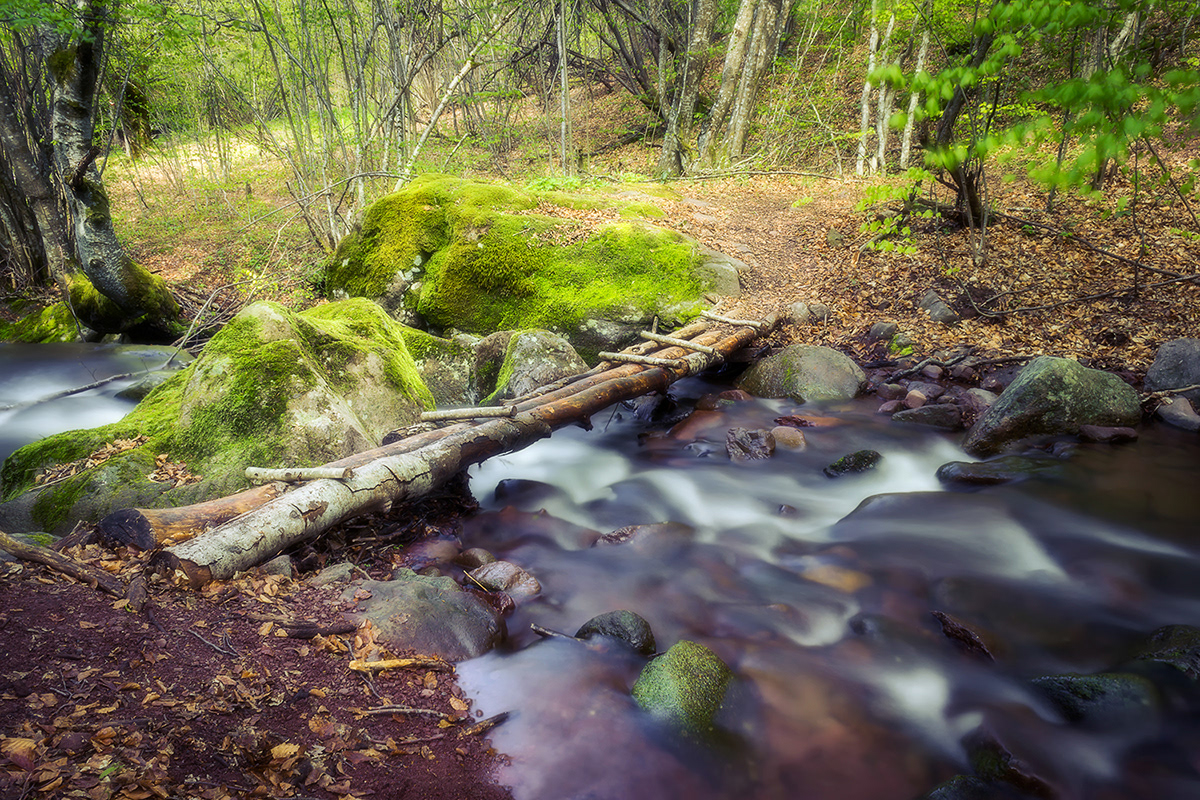
In just a few simple steps you can add a dreamy, ethereal, soft feel to any regular looking photo. This effect is called Orton effect and there are several ways to do it. In this tutorial I will show you how I prefer to do it and at the end I will add one more advanced tip that go well together with Orton effect and can improve your photography even more. So here is a step by step guide on how to add Orton effect in Adobe Photoshop:
1. Open your image
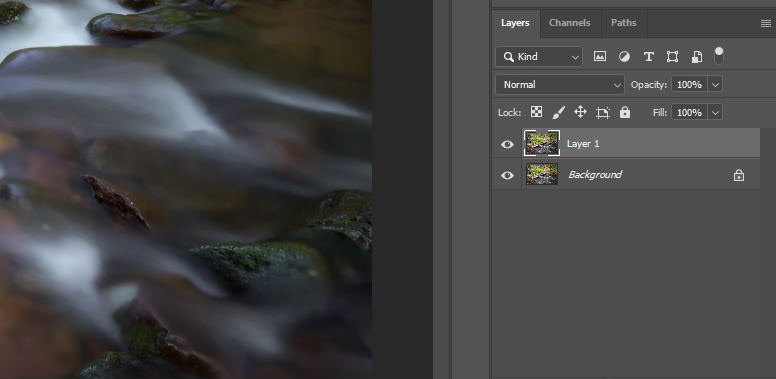
2. Duplicate your background layer by holding Ctrl+J on Windows, or CMD+J on a Mac.
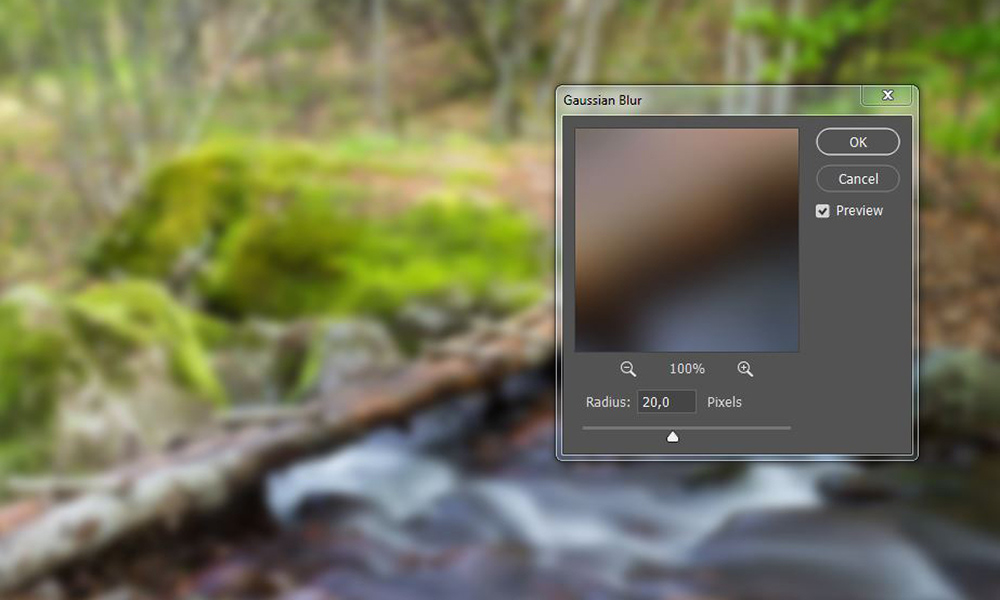
3. With new layer selected, go to Filter>Blur>Gaussian Blur and add change the radius until you have a very blurry picture, but still can recognize the shapes (the amount will depend on the size of your file)
4. Then go to image>Adjustmens>levels and move the left and right slider until you see some blacks and whites crashed (again, right amount will depend on the photo itself, but there is no right or wrong here, it is your choice how much of this effect you will add)

5. The effect is ready, but it will be too strong. You can control it by reducing the Opacity. Maybe the easiest way to do it is to reduce it to 0 and then slowly increase the Opacity until you like the amount of effect applied. In this case 25% was more than enough.
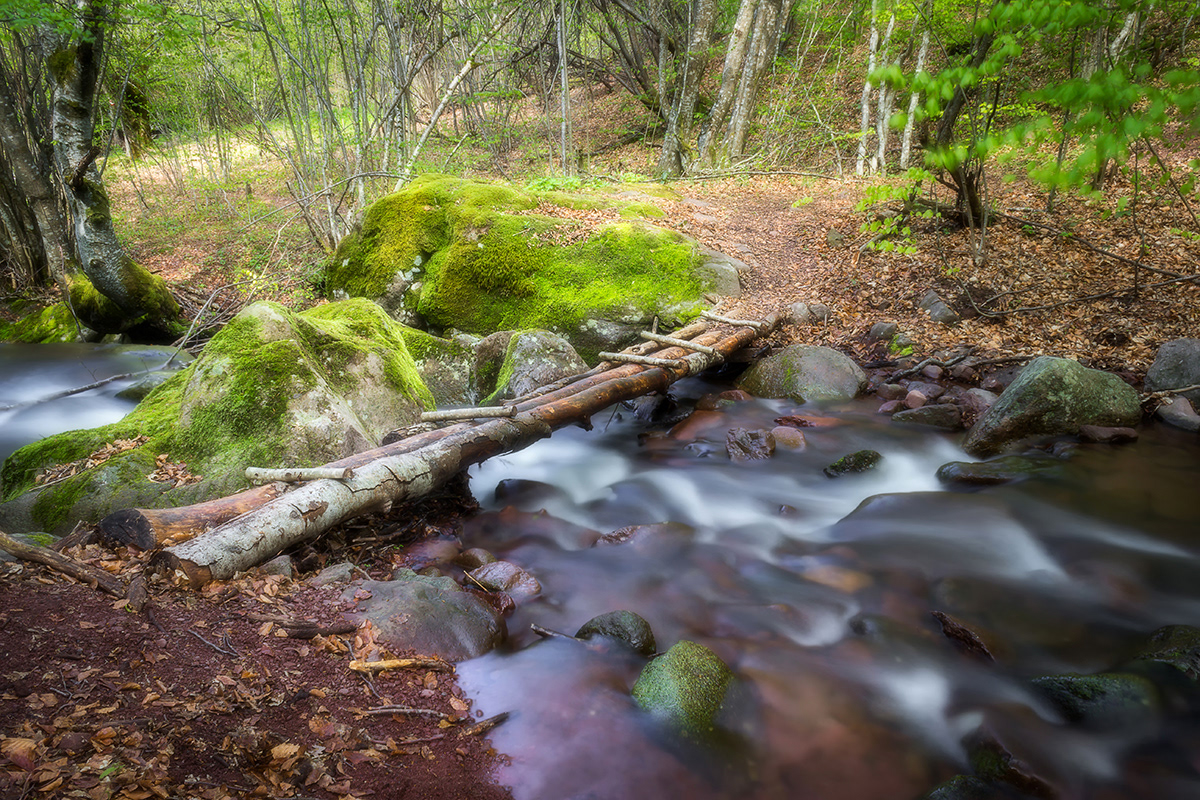
And that’s it, you have your dreamy Orton effect added to your photo. Here is a before and after:

How can we improve on that? One of the ways is to color grade the highlights and shadows on that layer we added for Orton effect. As always, there are several ways to do it. This time I will show you the simplest one, and some time down the road, I will create a whole tutorial on color grading. Here is a step by step guide on how to color grade your highlights and shadows of an Orton effect layer:
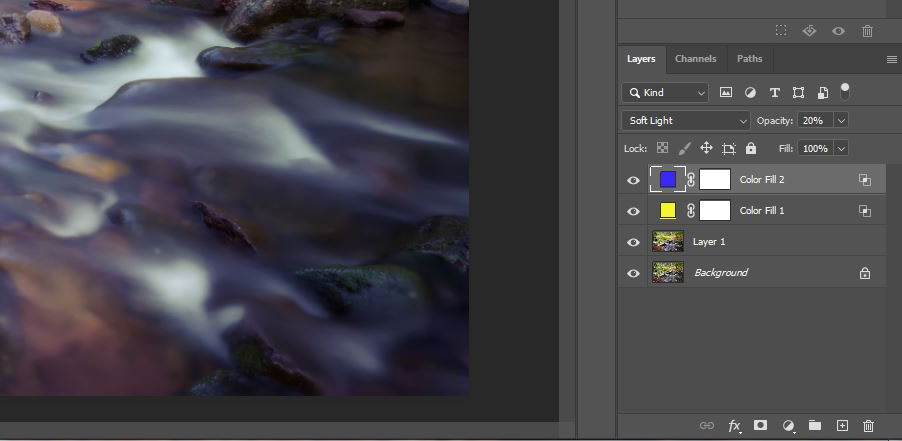
1. Add a solid color adjustment layer and choose a color (for highlights I usually choose warm tones)
2. Change the blend mode of this color adjustment layer to soft light

3. Then double click on the layer name and under blend if menu, move the bottom left slider towards right. Use Alt key (option on Mac) to split the slider and make less harsh selection. This way you remove effect from shadows and it will be applied only to the light parts of you image.

4. Use Opacity slider to control the amount of effect. In this case I opted for 30%.

5. Add another solid color adjustment layer and this time choose some cooler color for the shadows (again, this is not the rule, you can choose any color you want).
6. Change the blend mode of this color adjustment layer to soft light.
7. Us the same technique to limit the effect only on shadows, so this time you move bottom right slider towards left and split it using Alt key (option on Mac).
8. Use Opacity slider to control the amount of effect. In this case I used only 20%.
At the end, here is a before and after color grading the photo:

It's a subtle, but impactful effect. And you can make it as strong as you want, but don't overdo it. Make sure you try it yourself, it’s the best way to learn. Try it on some of the photos you think might benefit from these effects and you might be surprised with the results.